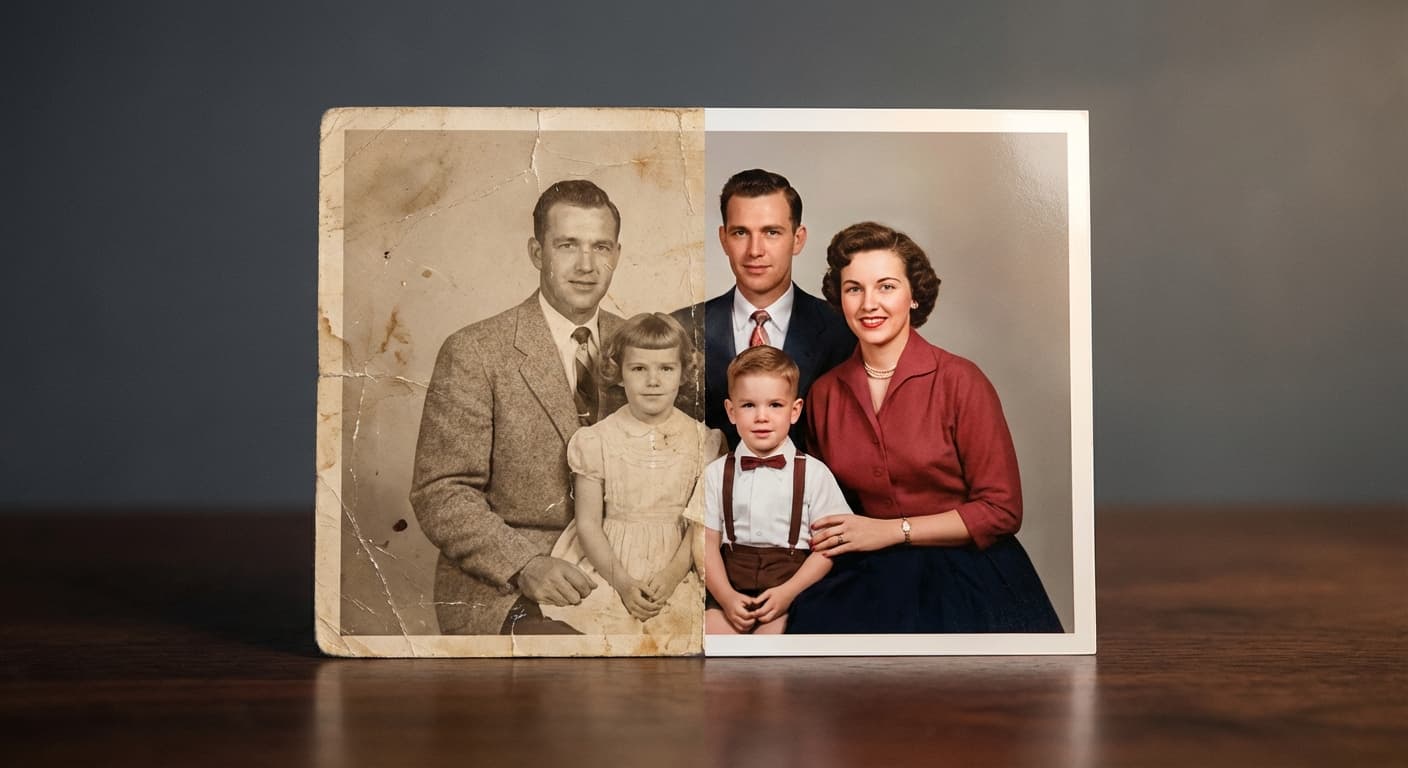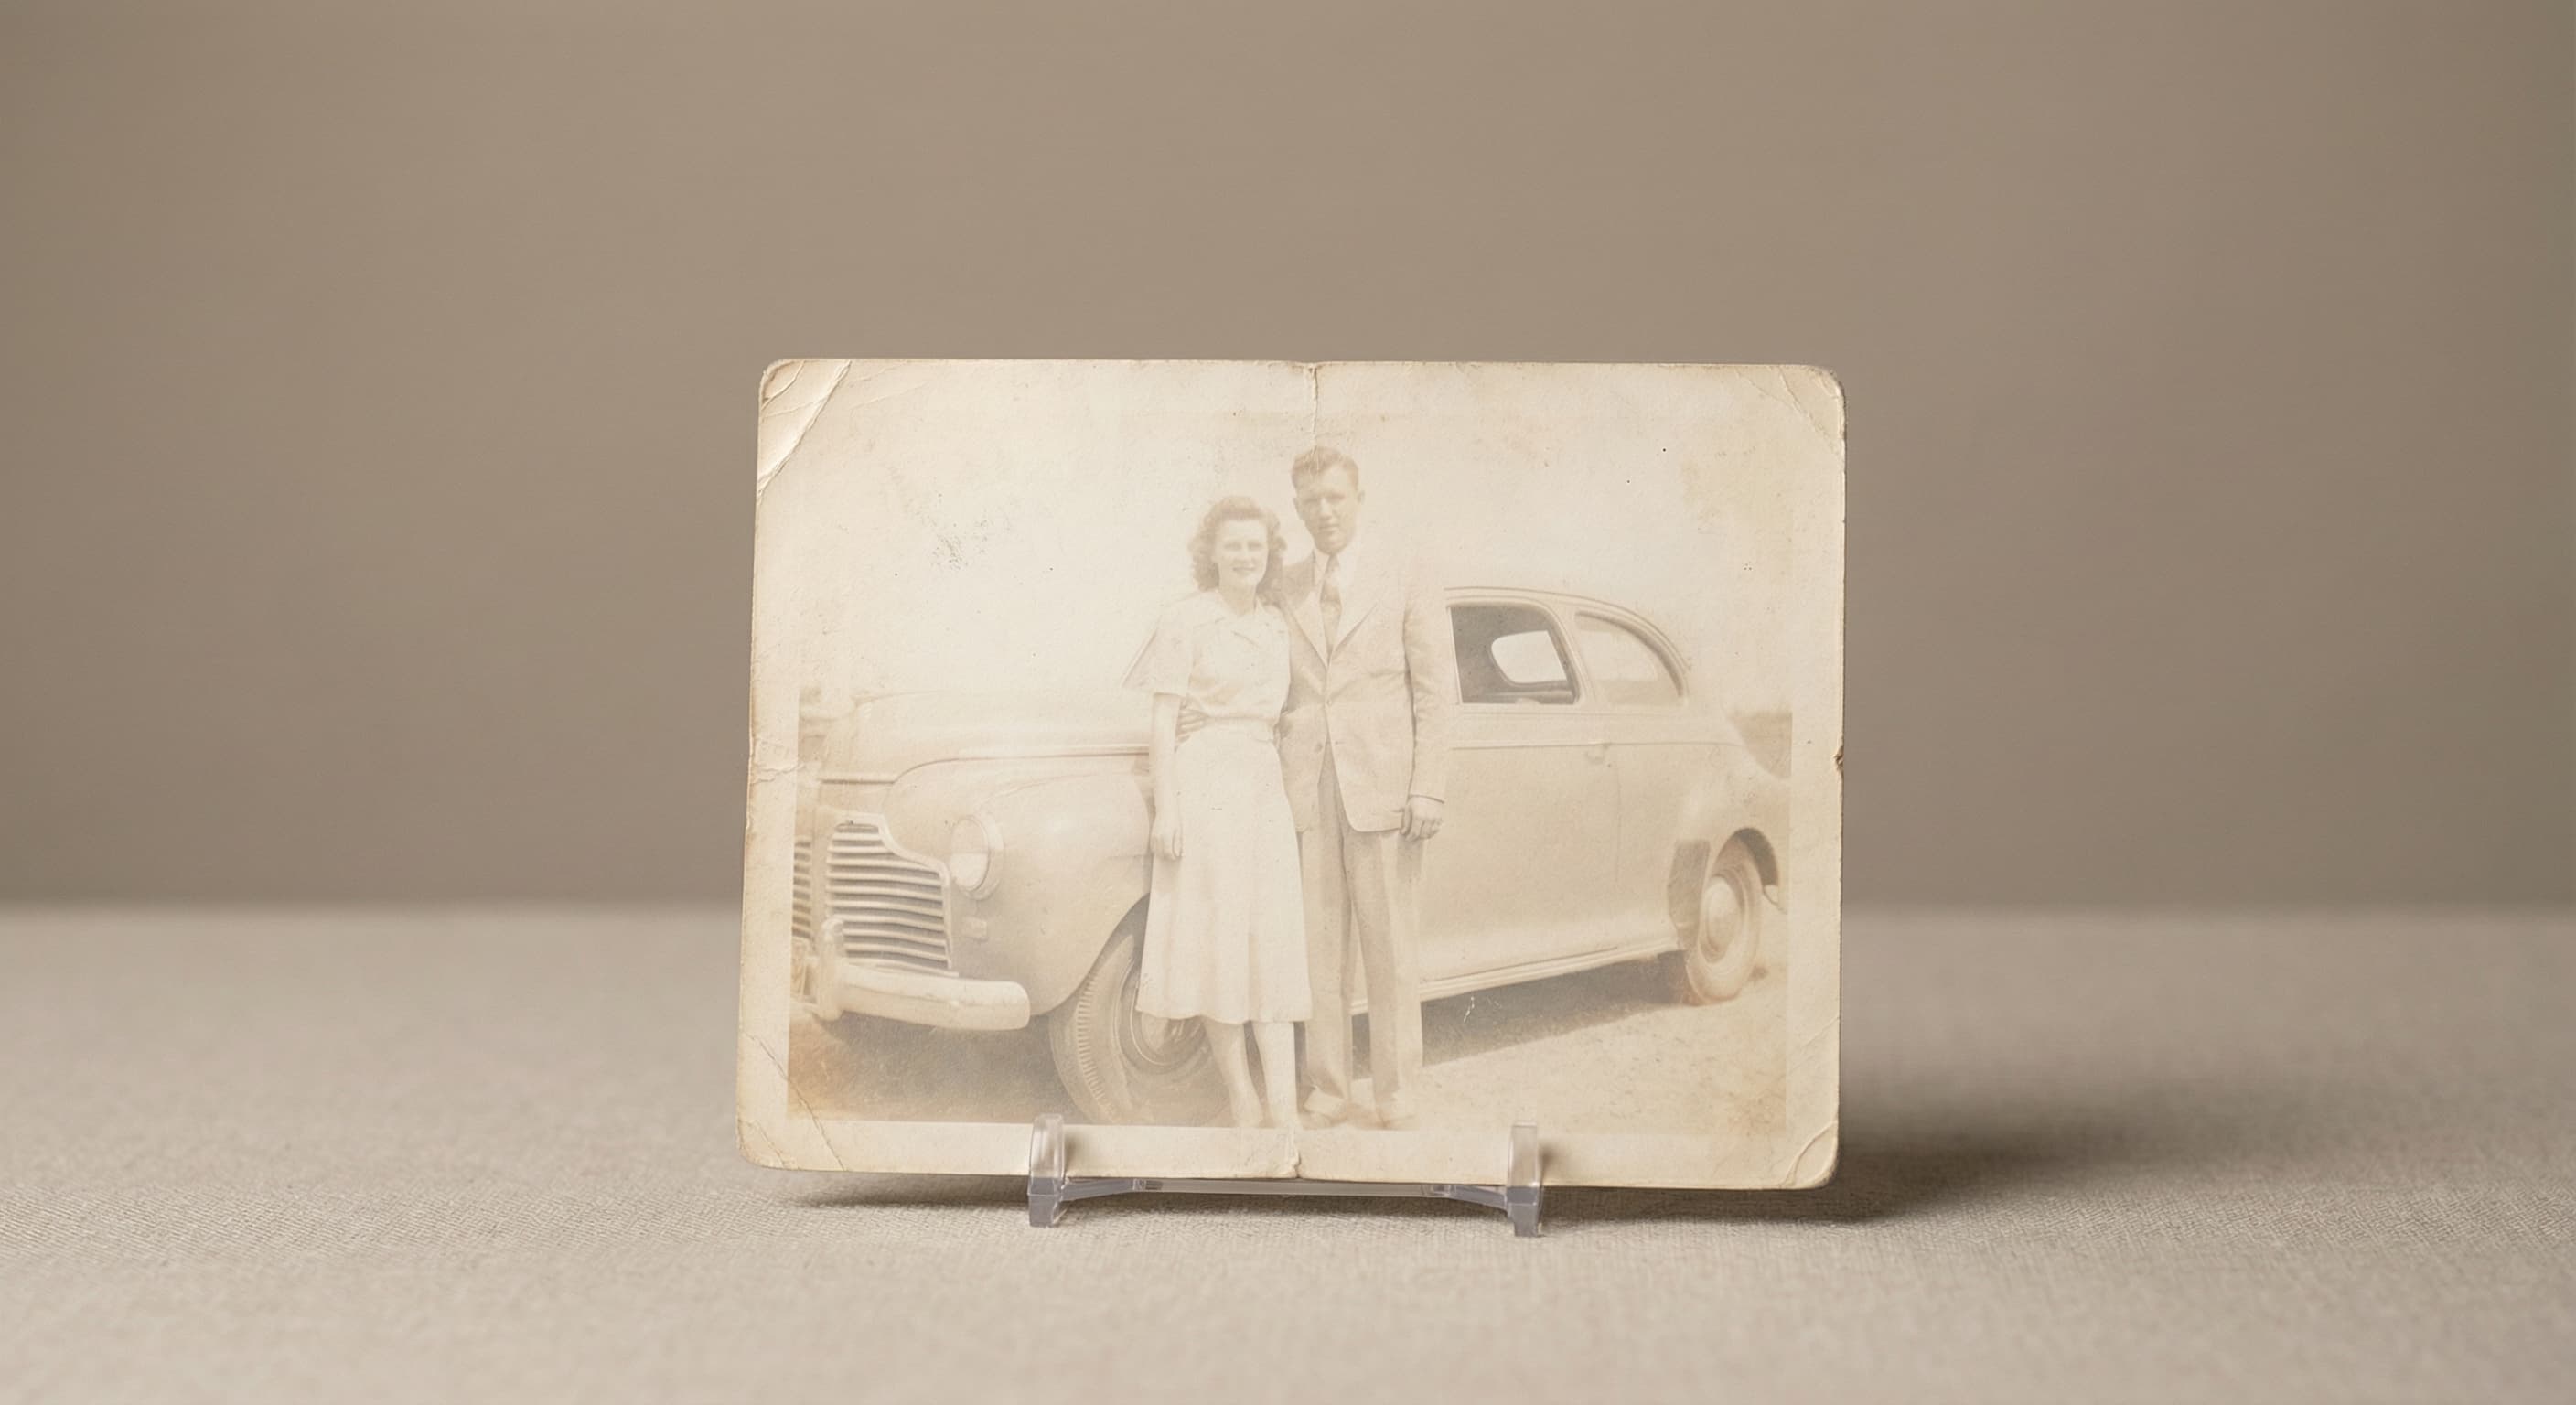
Faded prints
“Restore the faded colors in this old print.”
Upload a scan of an old print and Made repairs scratches, tears, fading, and other damage, sharpening the image and recovering lost detail.
Faded prints“Restore the faded colors in this old print.”
Photograph or scan the print as flat and evenly lit as possible, and keep the original file.
Choose the JPEG, PNG, or WebP scan and note any specific damage you want addressed.
The edit model repairs damage, corrects fading, and sharpens the image.
Check faces and important details against your scan before sharing or printing the result.
Real results from Made. Use a prompt to load it into the studio above, then add your own photo.
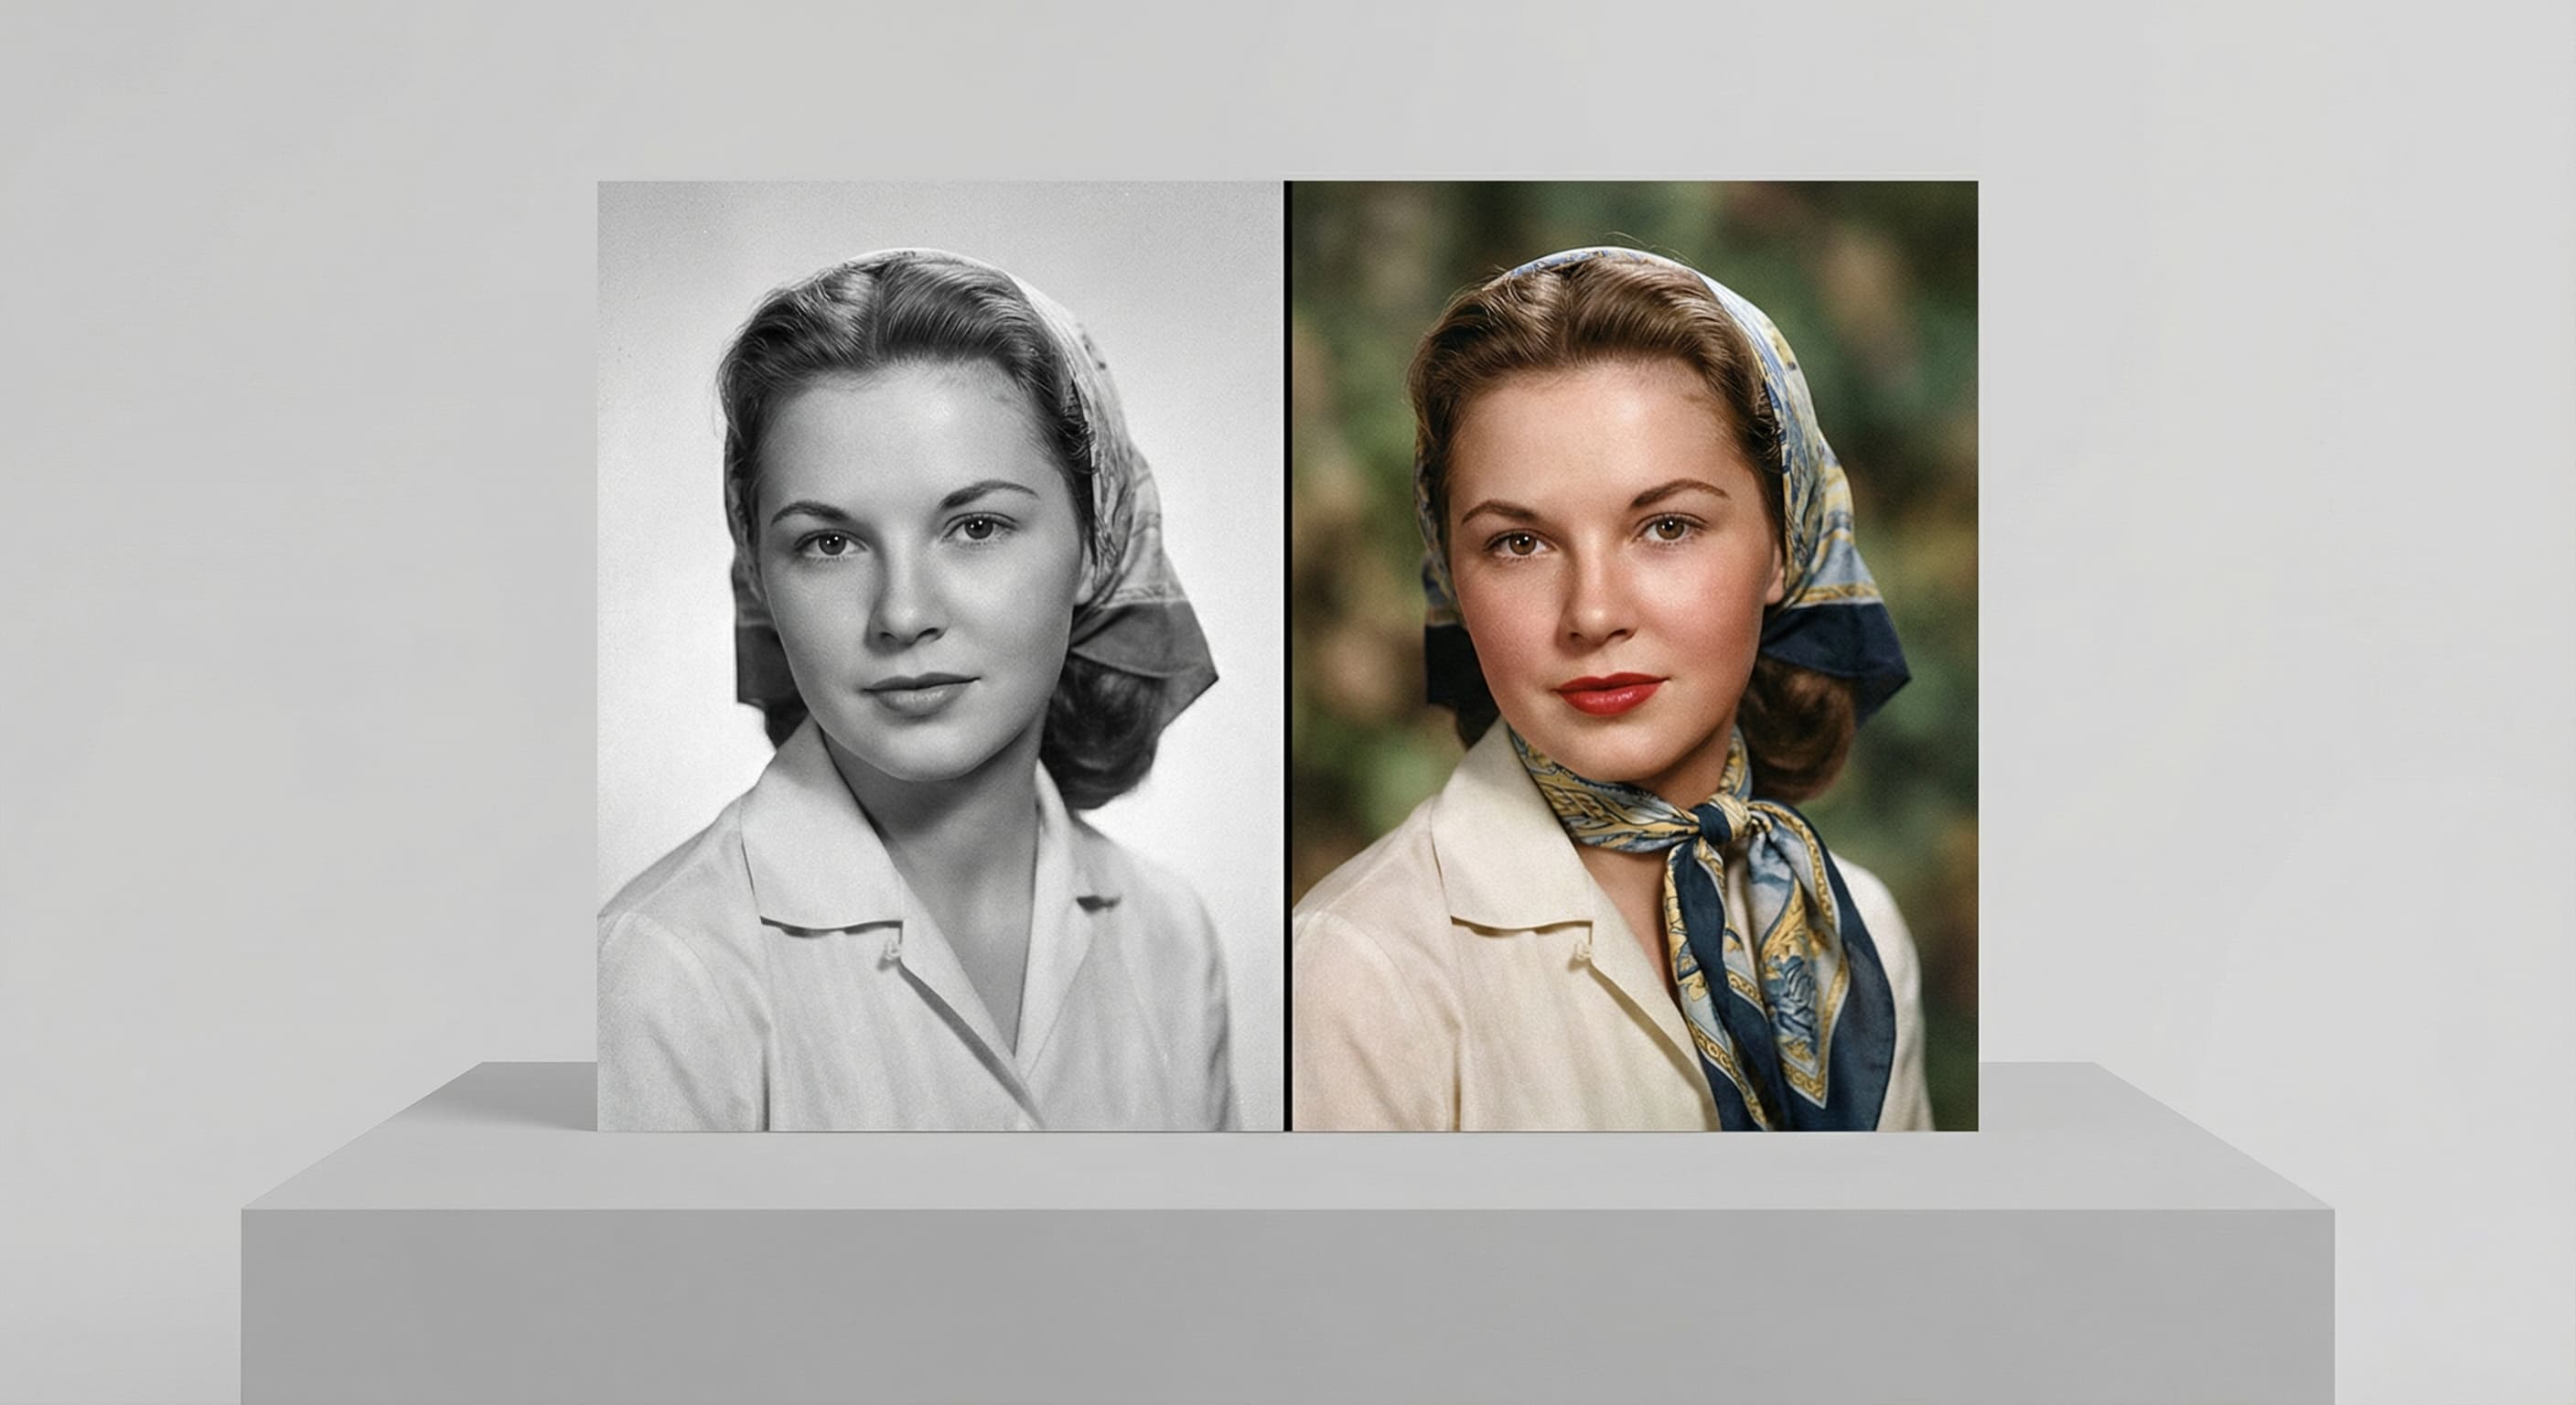
“Restore the faded colors in this old print.”
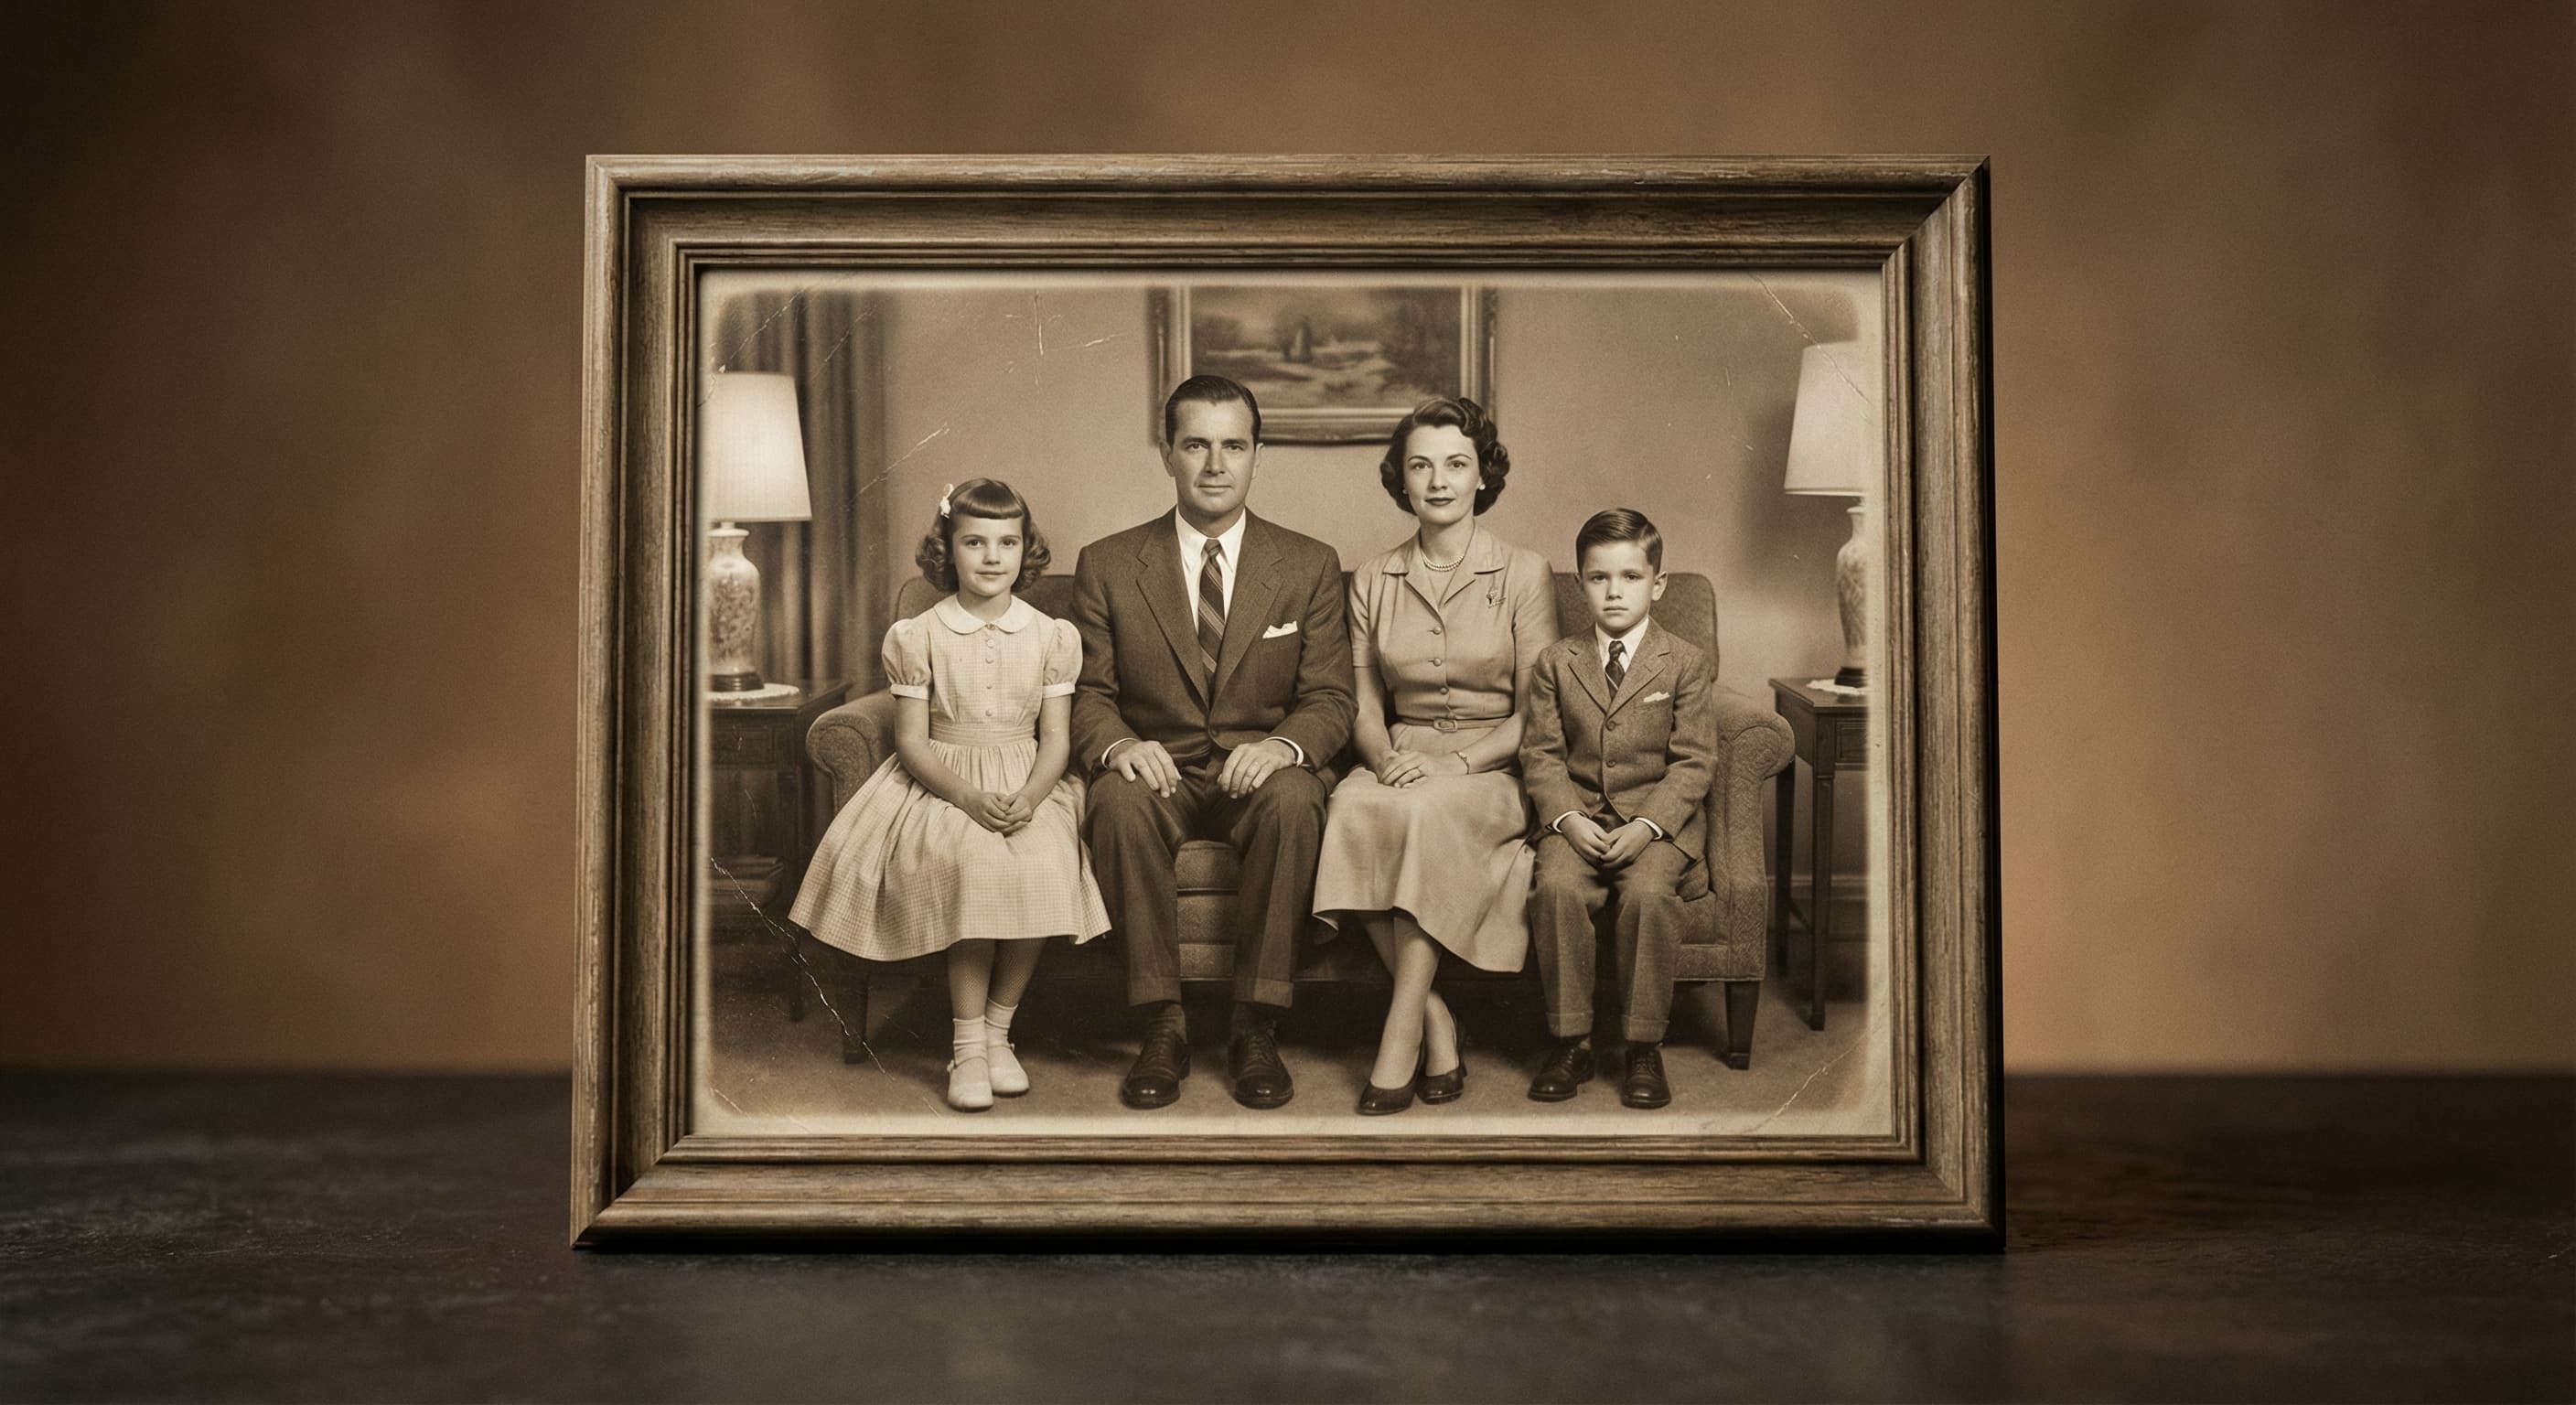
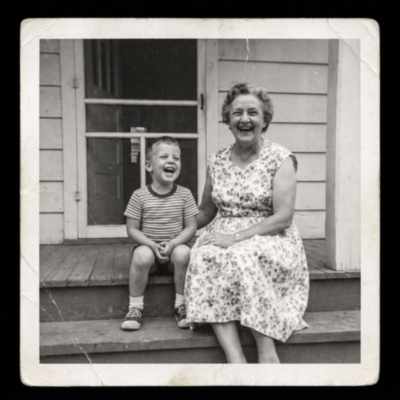
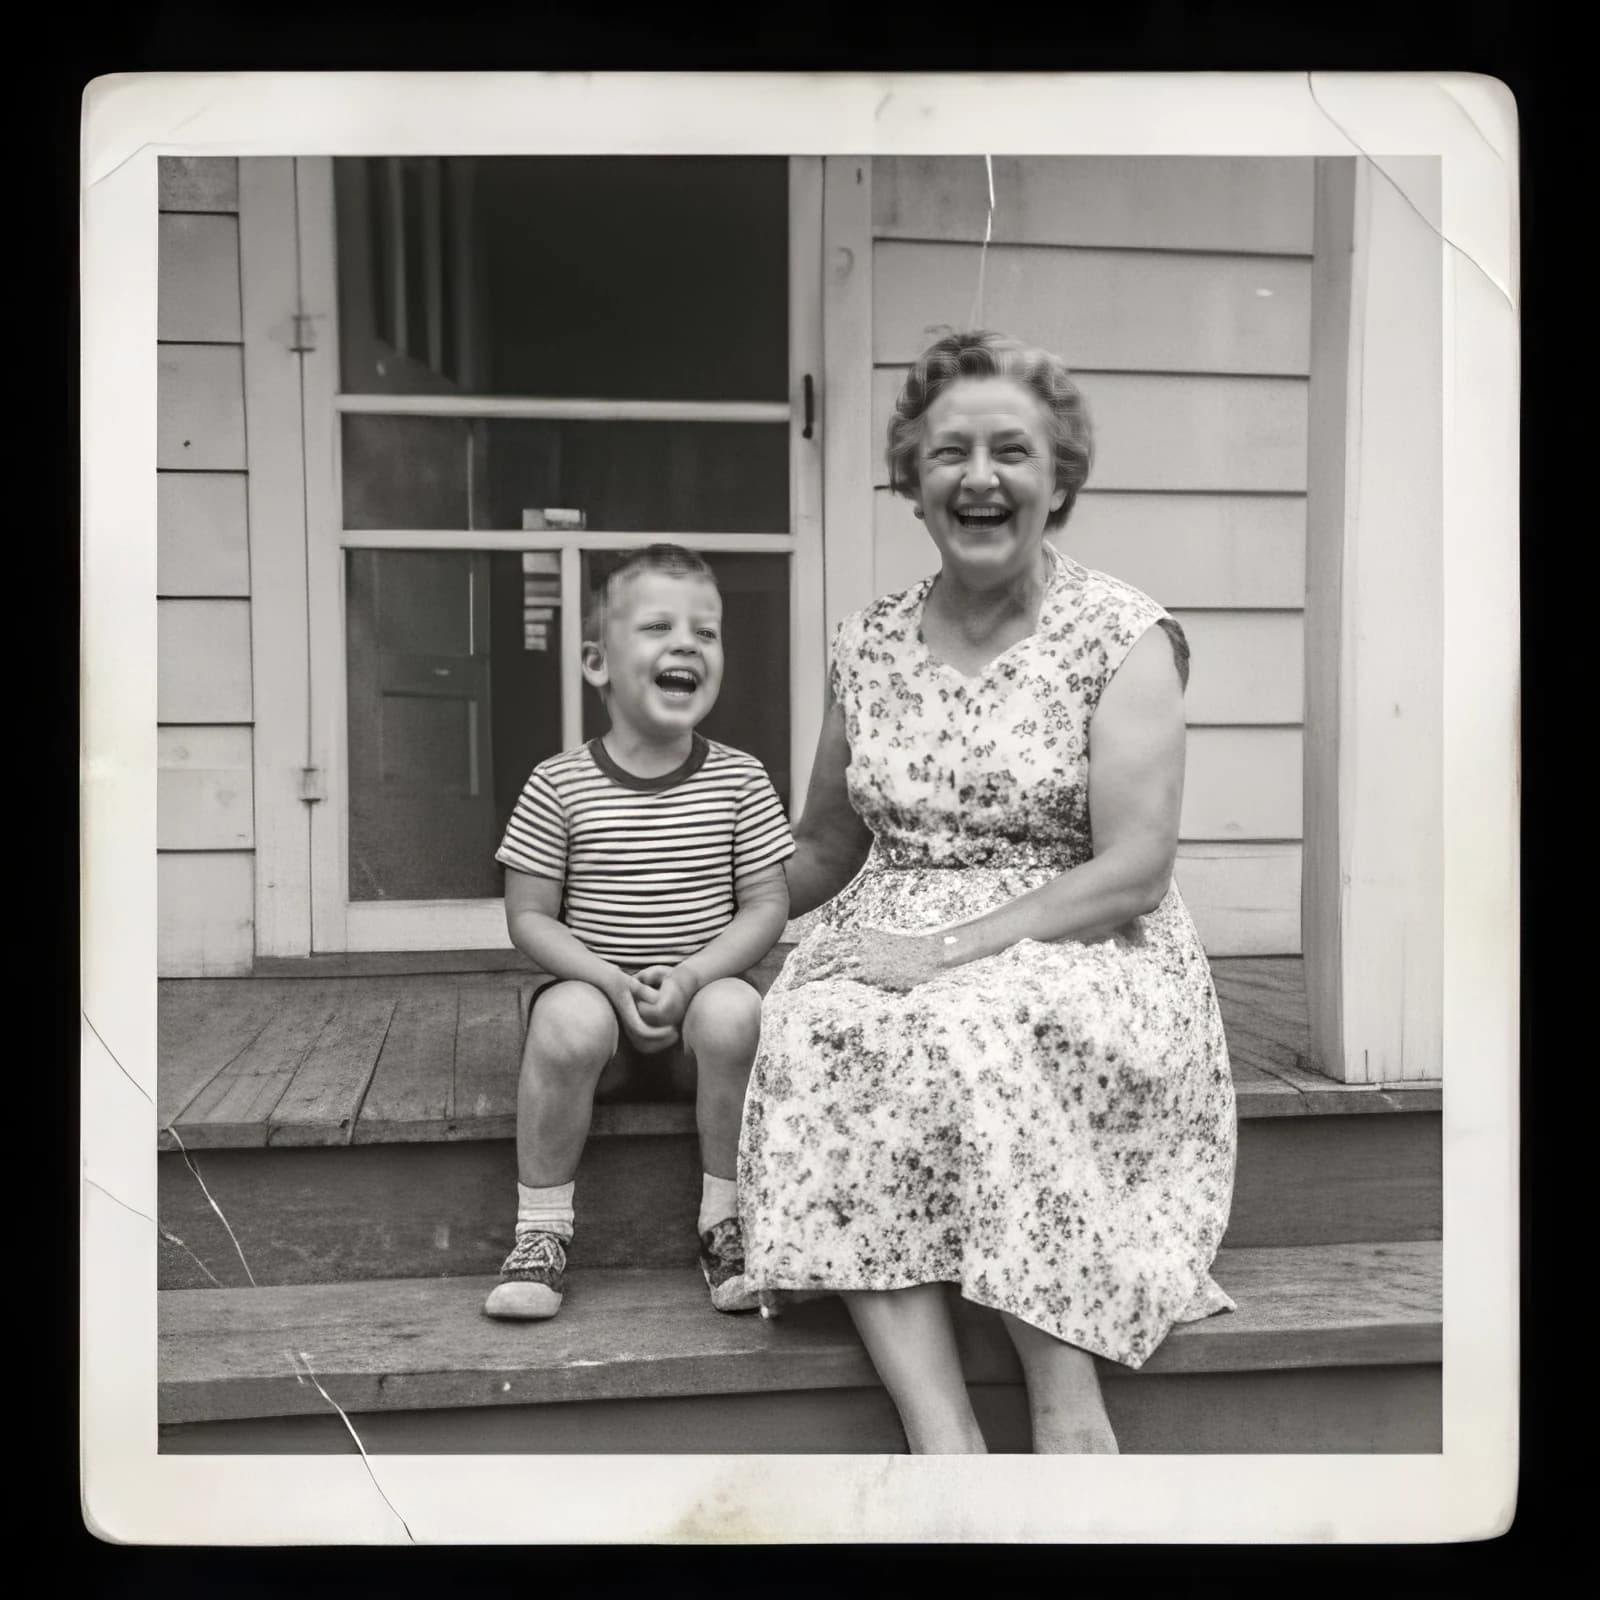
“Restore this family photo and recover as much detail as possible.”
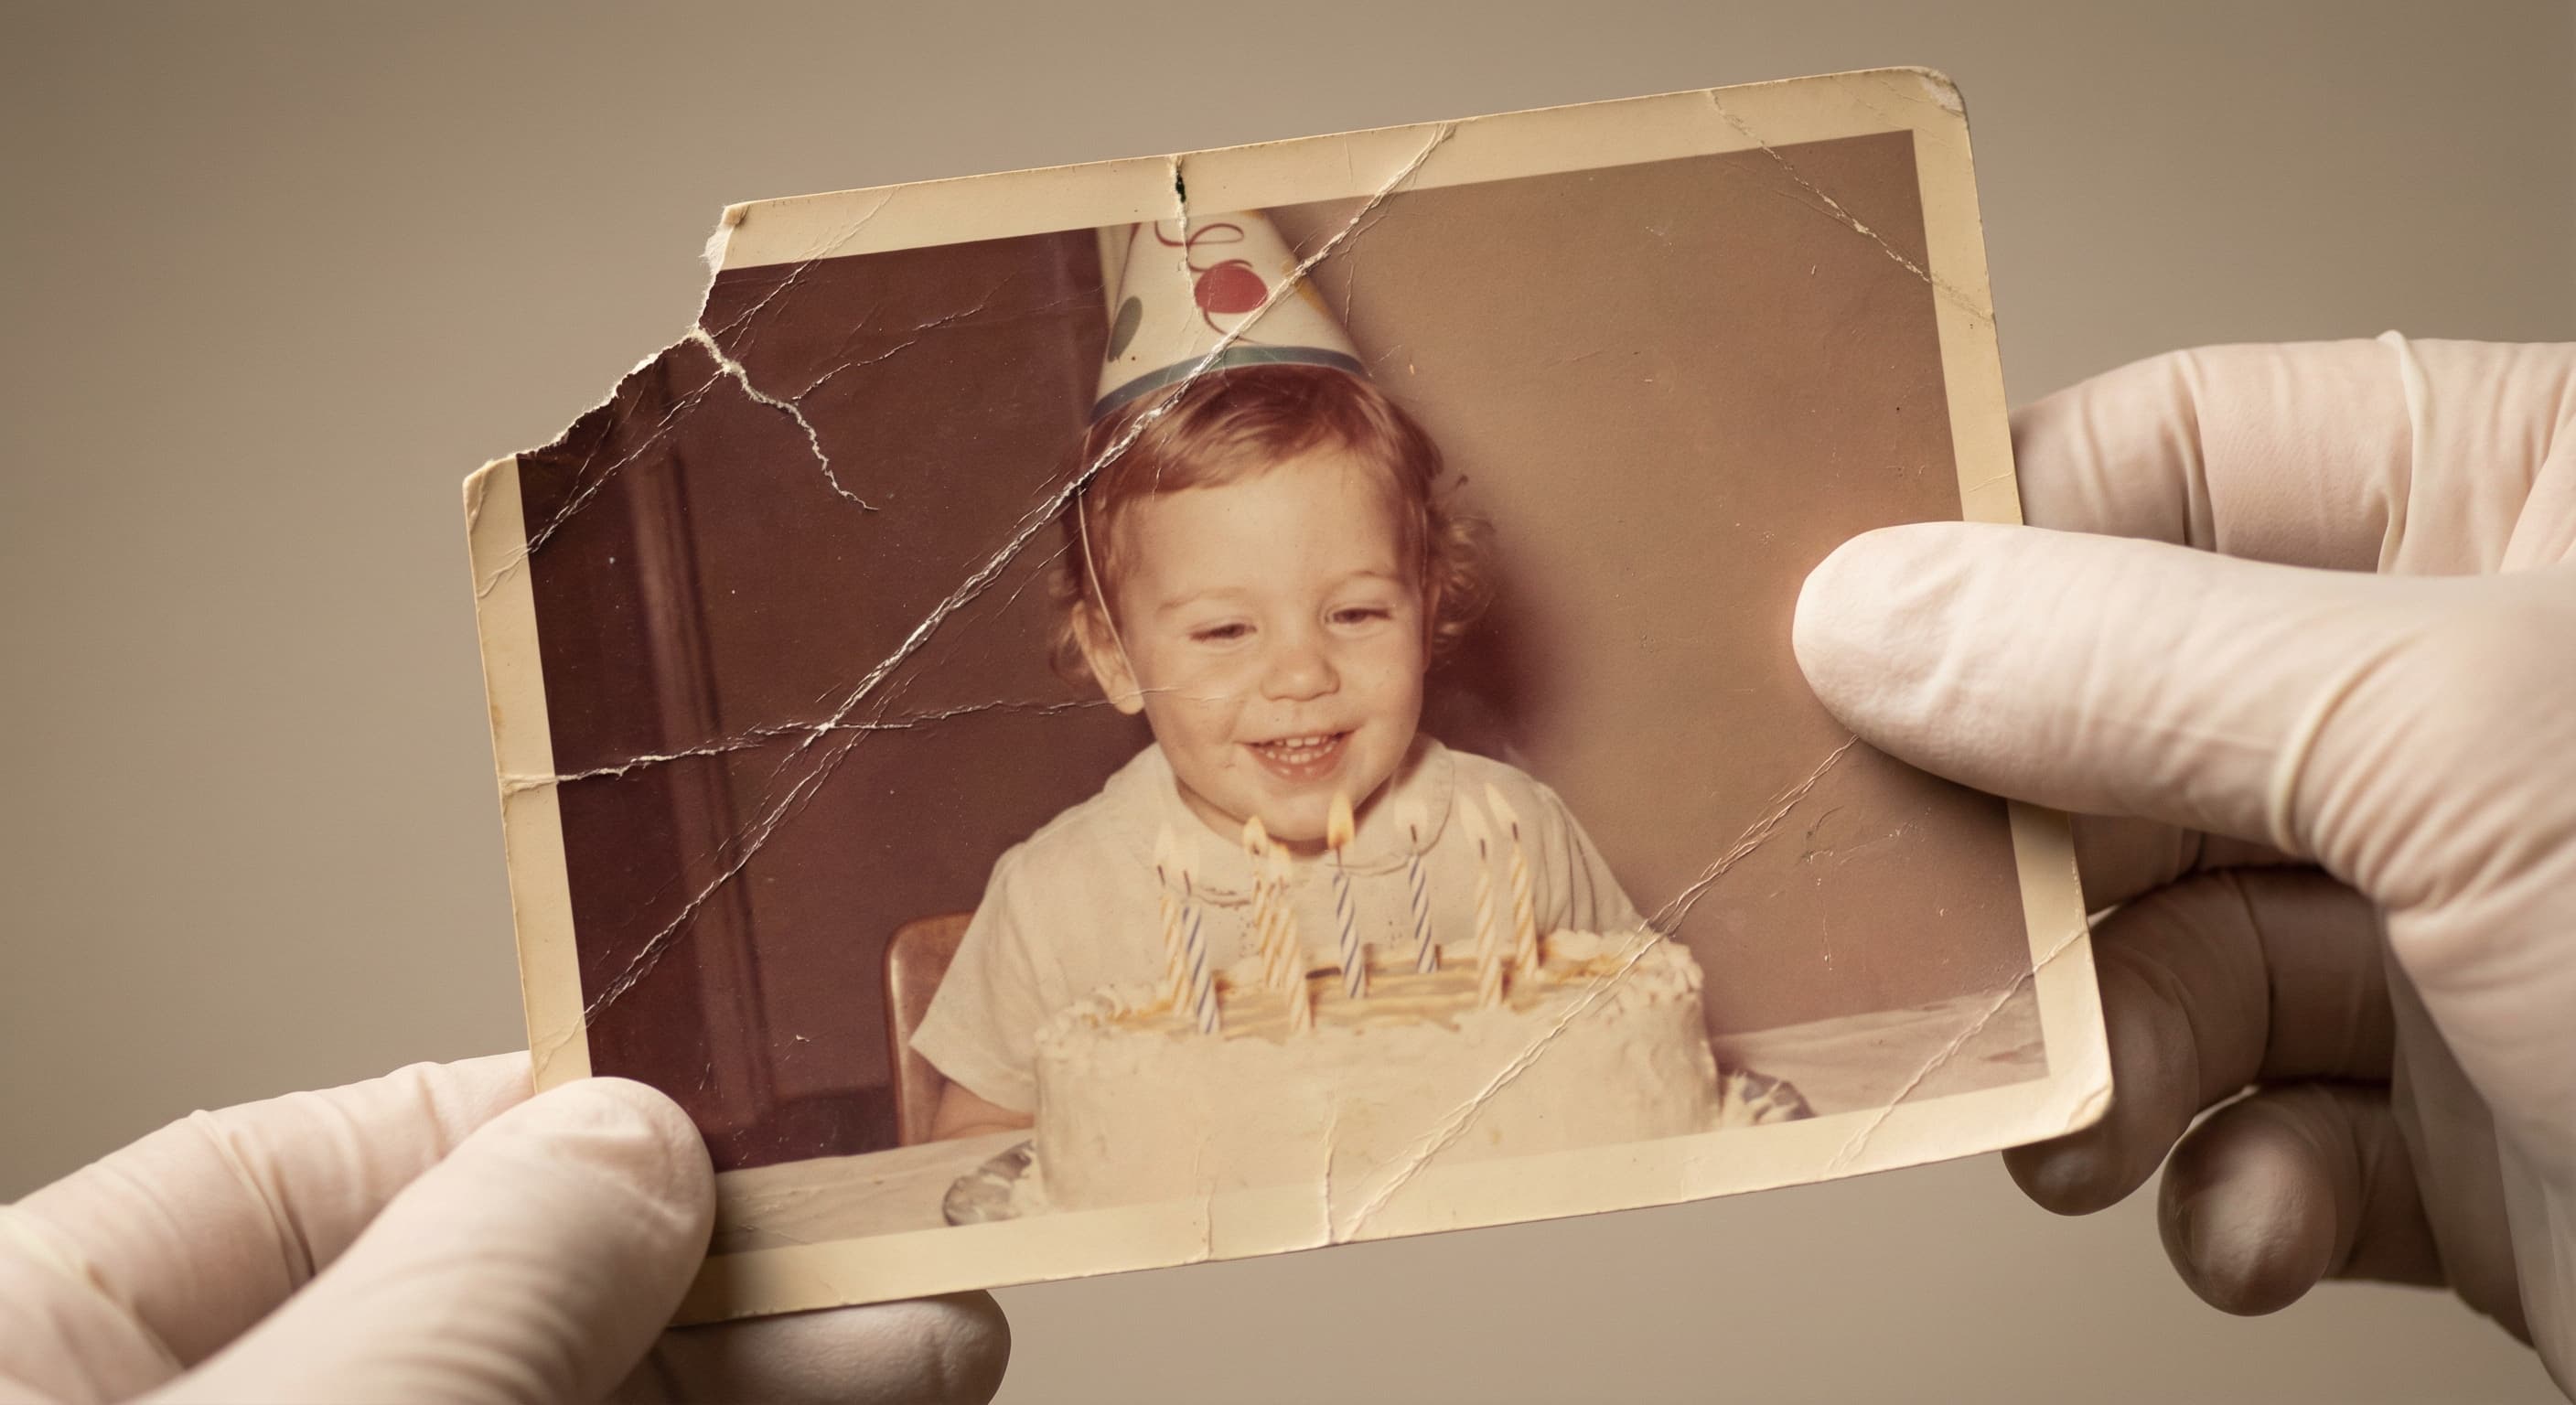
“Repair the scratches and tears in this scanned photo.”
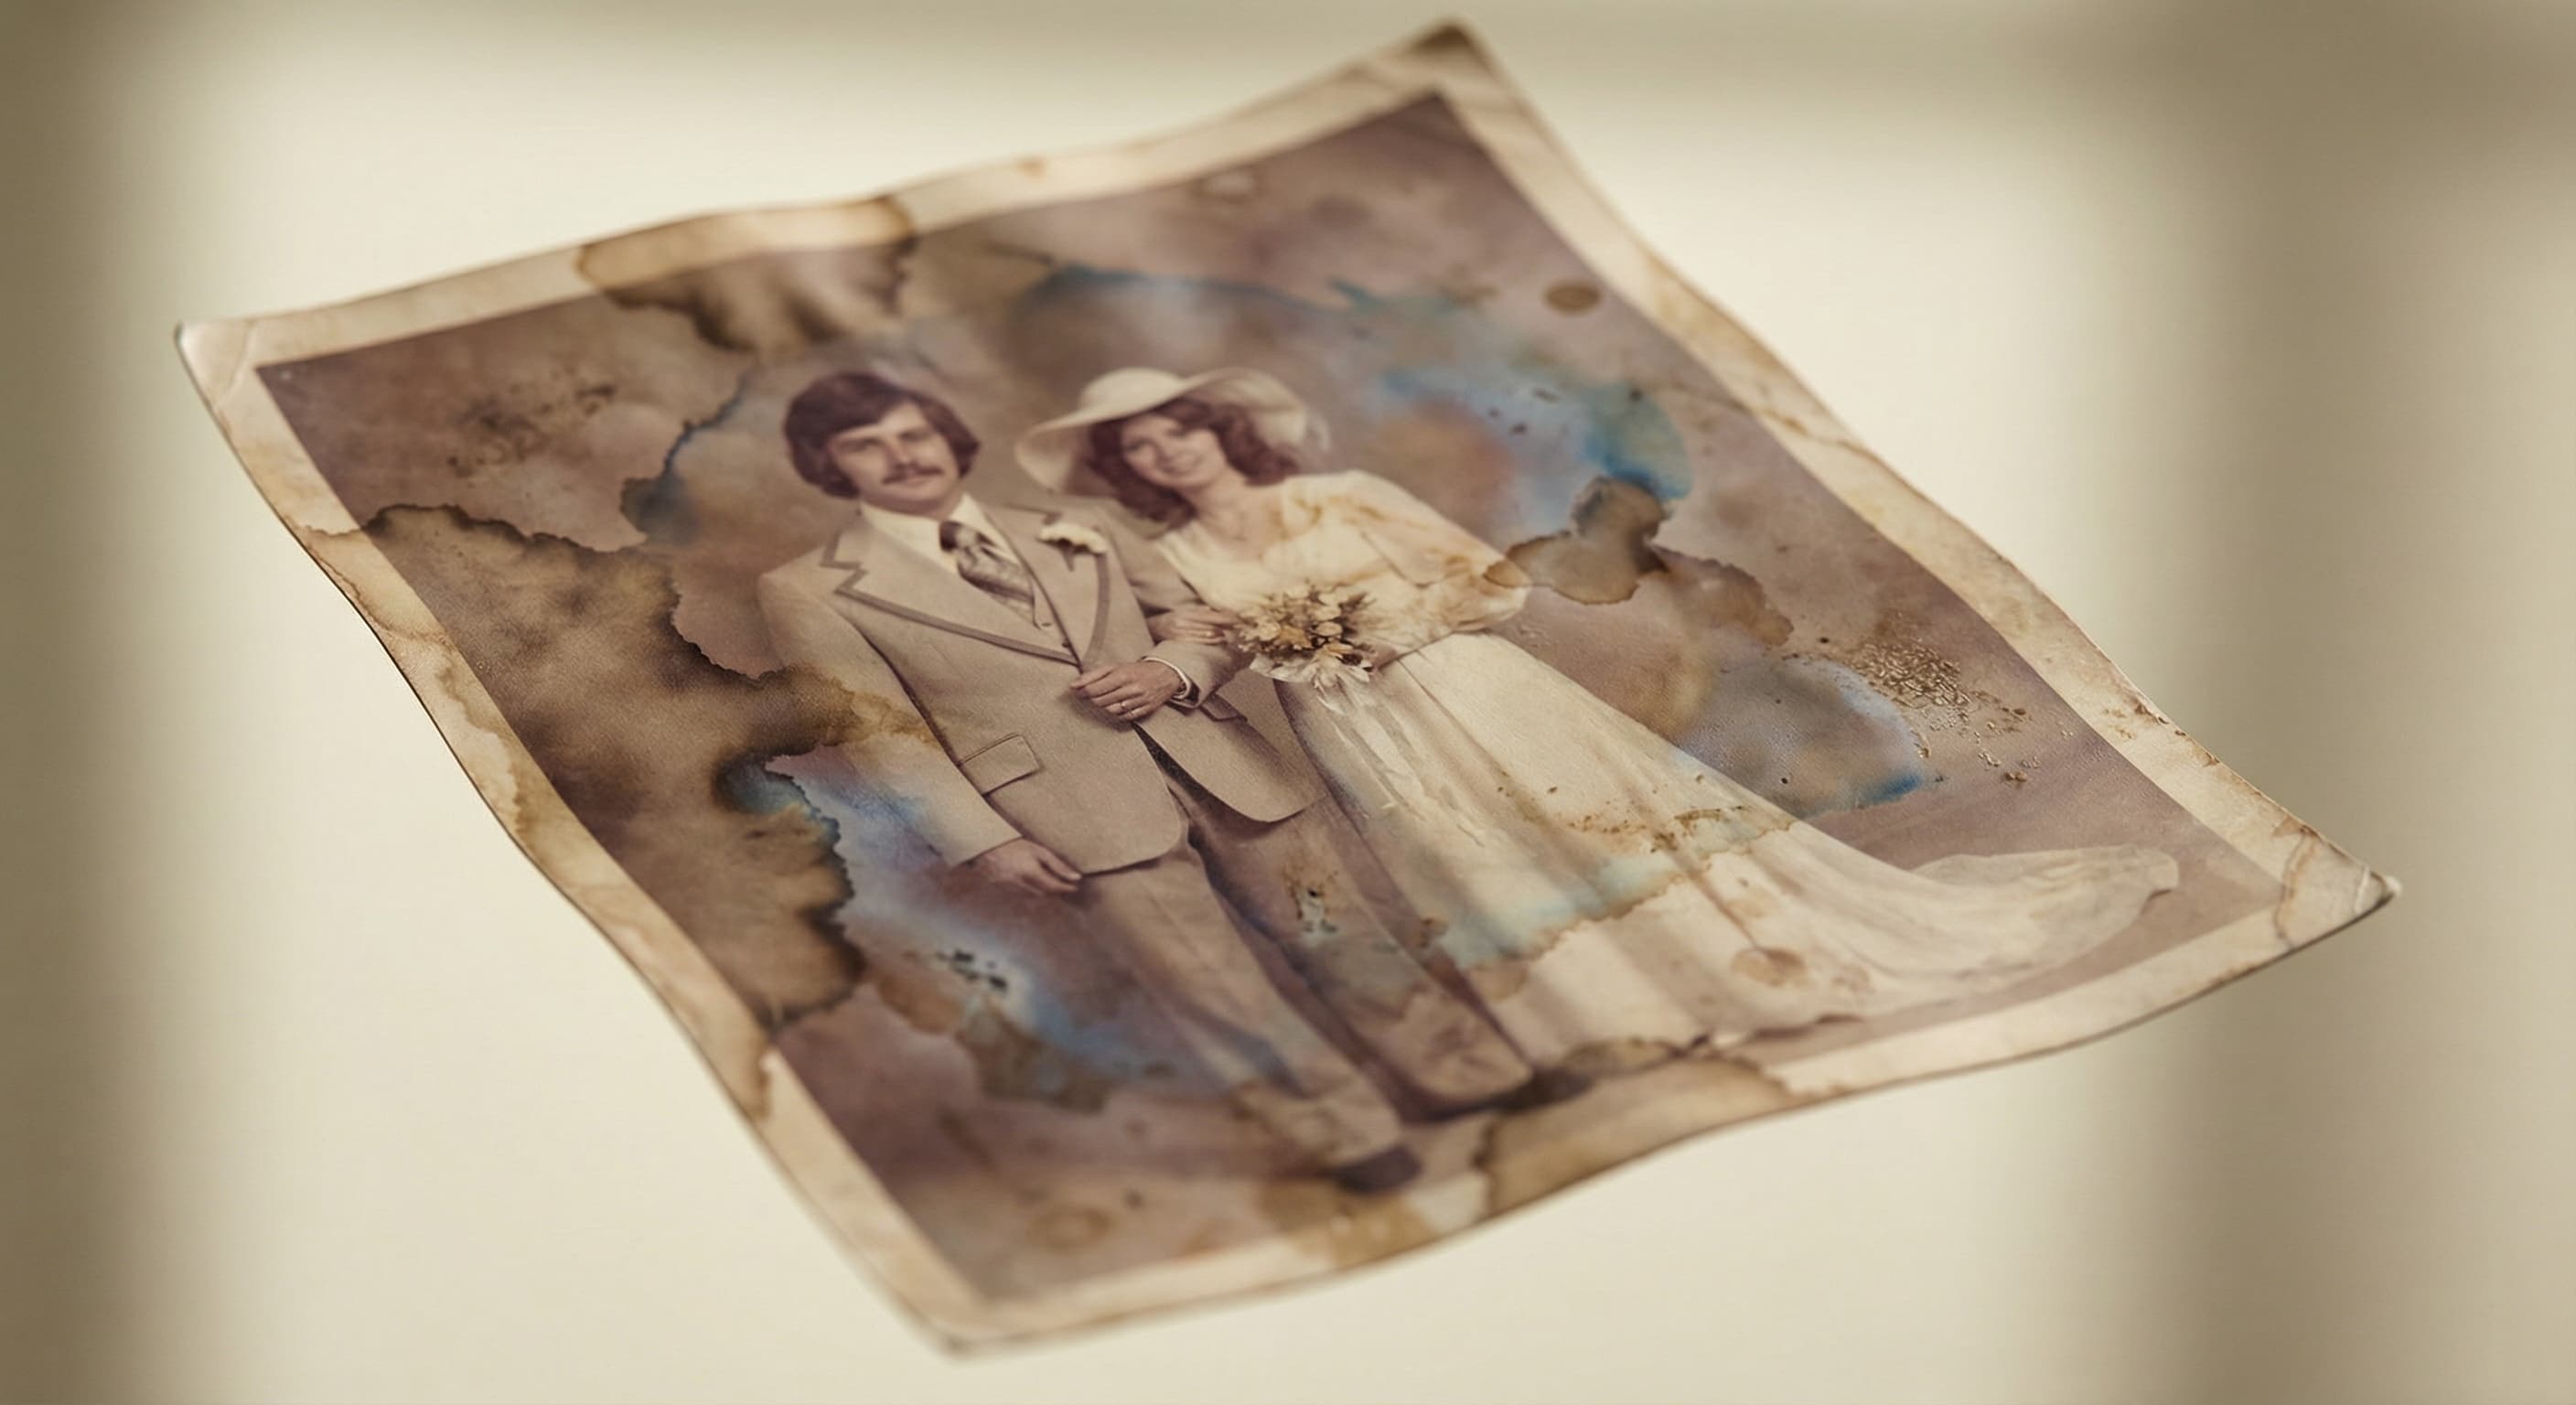
“Fix the water damage and stains on this photo.”
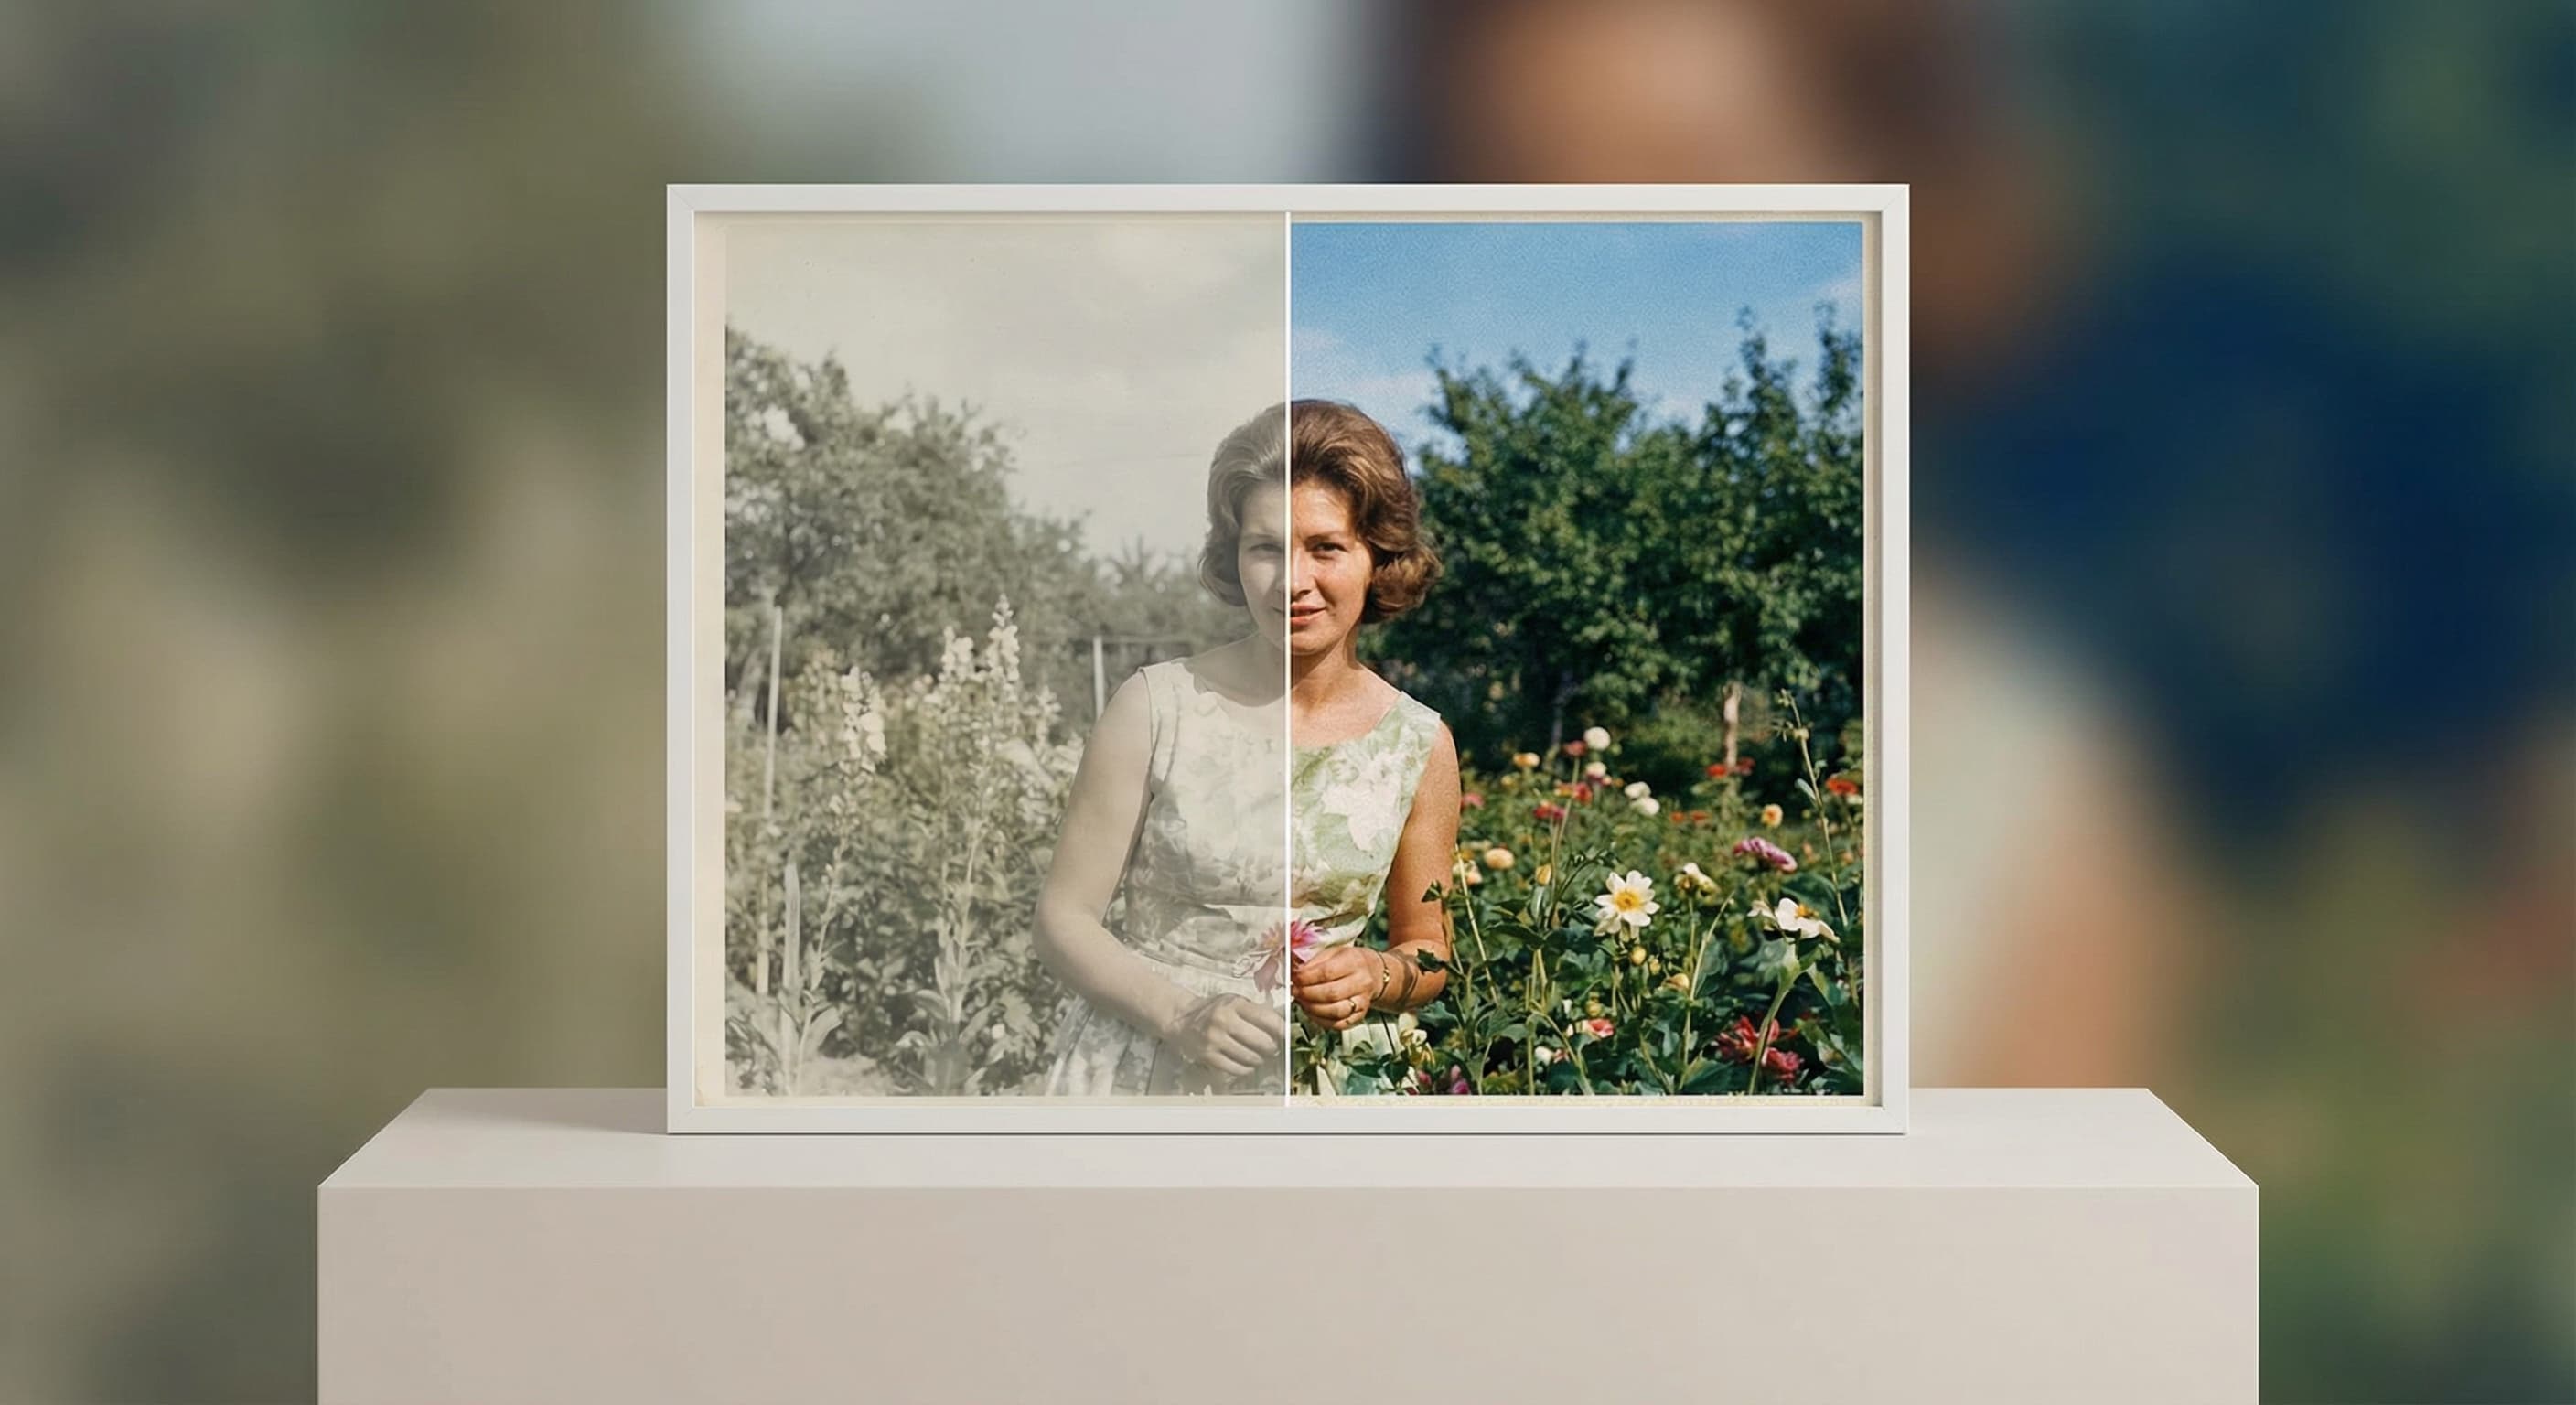
“Recover the original colors of this discolored photo.”
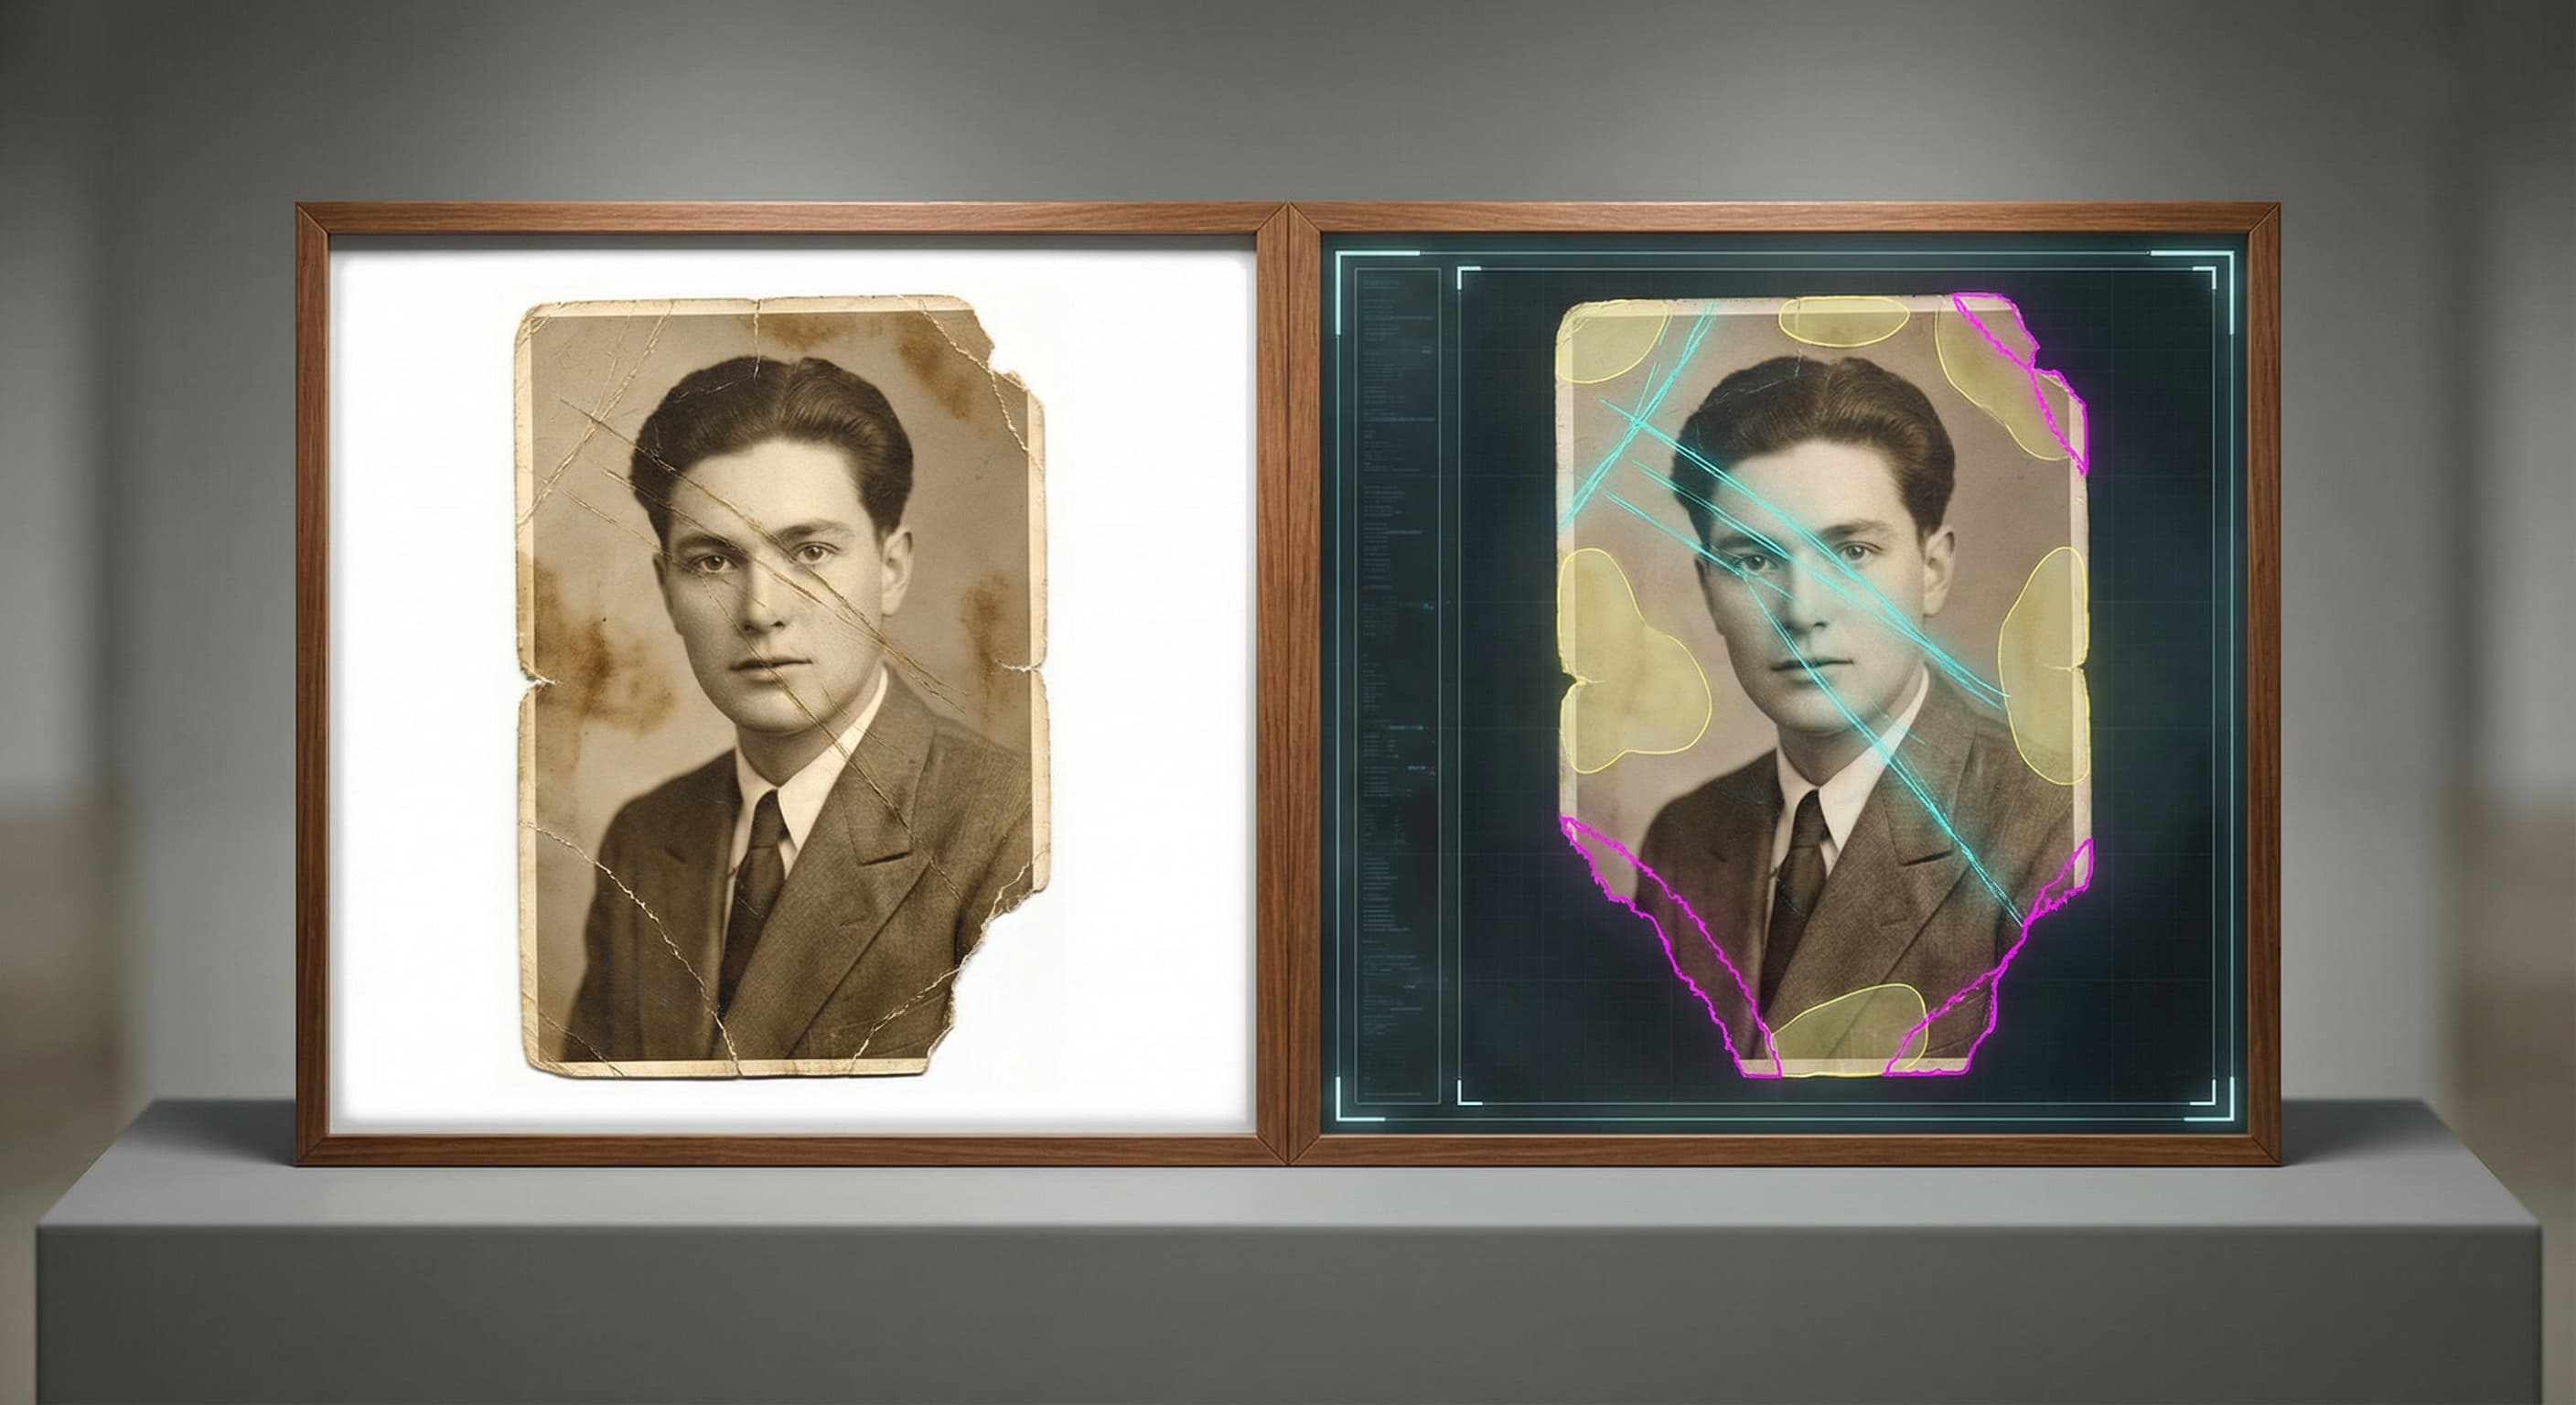
“Find and repair the damaged areas in this print.”
Checked against the running tool on 2026-09-03.
You upload a scan of the damaged print and Made sends it, with a restoration instruction, to the Nano Banana 2 edit model on fal.ai. The model repairs scratches, tears, and fading, sharpens the image, and returns the restored version. Google’s Nano Banana on Replicate serves as the fallback provider.
No — restoration is generative. Where the original information is destroyed, the model reconstructs detail that is plausible, not guaranteed authentic. Always archive the original scan, and treat restored faces and fine details as an interpretation rather than a historical record.
The workflow handles common print damage: scratches, tears, creases, fading, discoloration, and general wear, along with softness from age. Mentioning the specific damage in your request helps direct the repair.
One JPEG, PNG, or WebP scan per request. Scan or photograph the print flat and evenly lit, and use the least compressed file you have. Scans over 1,536 pixels on either side are downscaled before editing.
This page focuses on repair — damage, fading, and sharpness. To add color to a black-and-white print, use the Colorize Photo tool, either before or after restoring the damage.
The primary Nano Banana 2 path returns the restored image as a PNG.
Restore first. Repair the damage at the scan’s native size, then run the result through Image Upscaler if you need a larger file for printing.



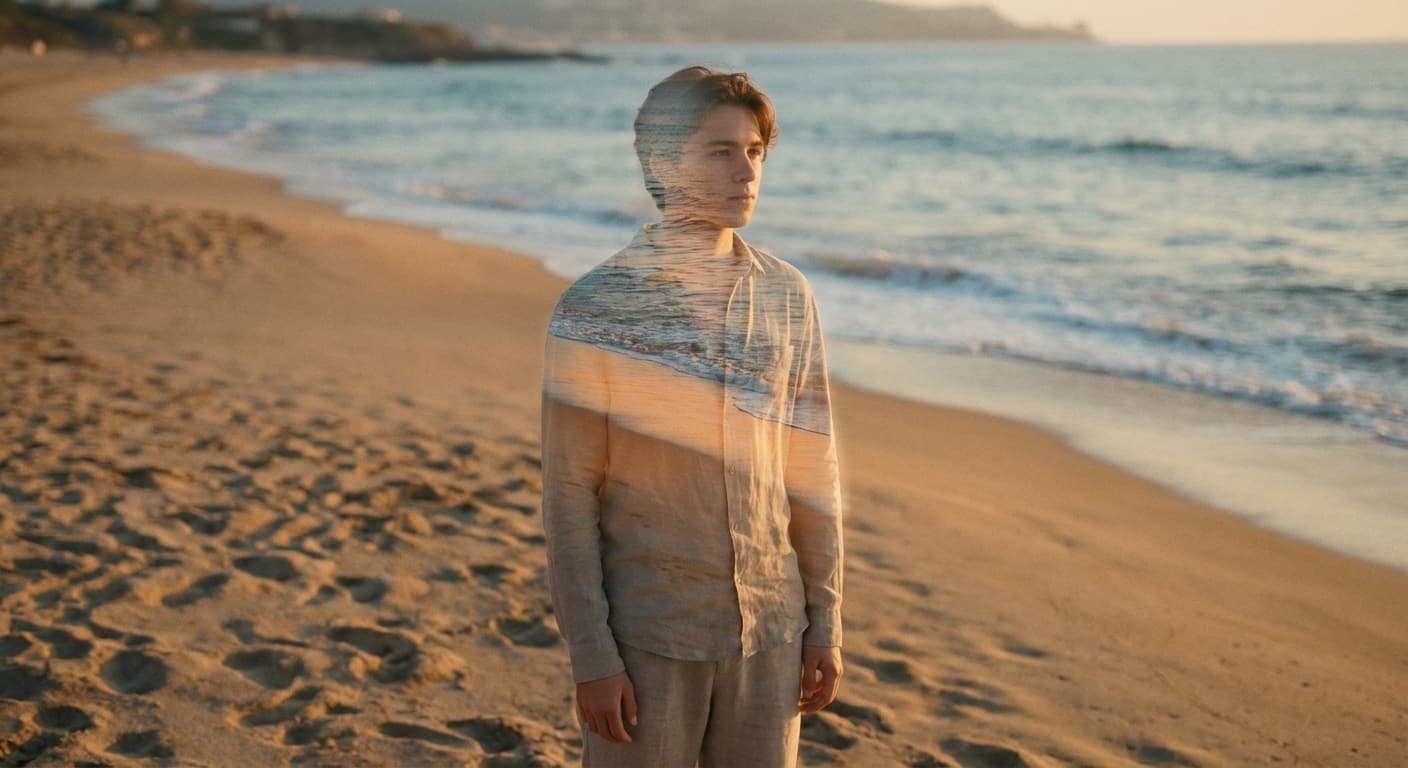
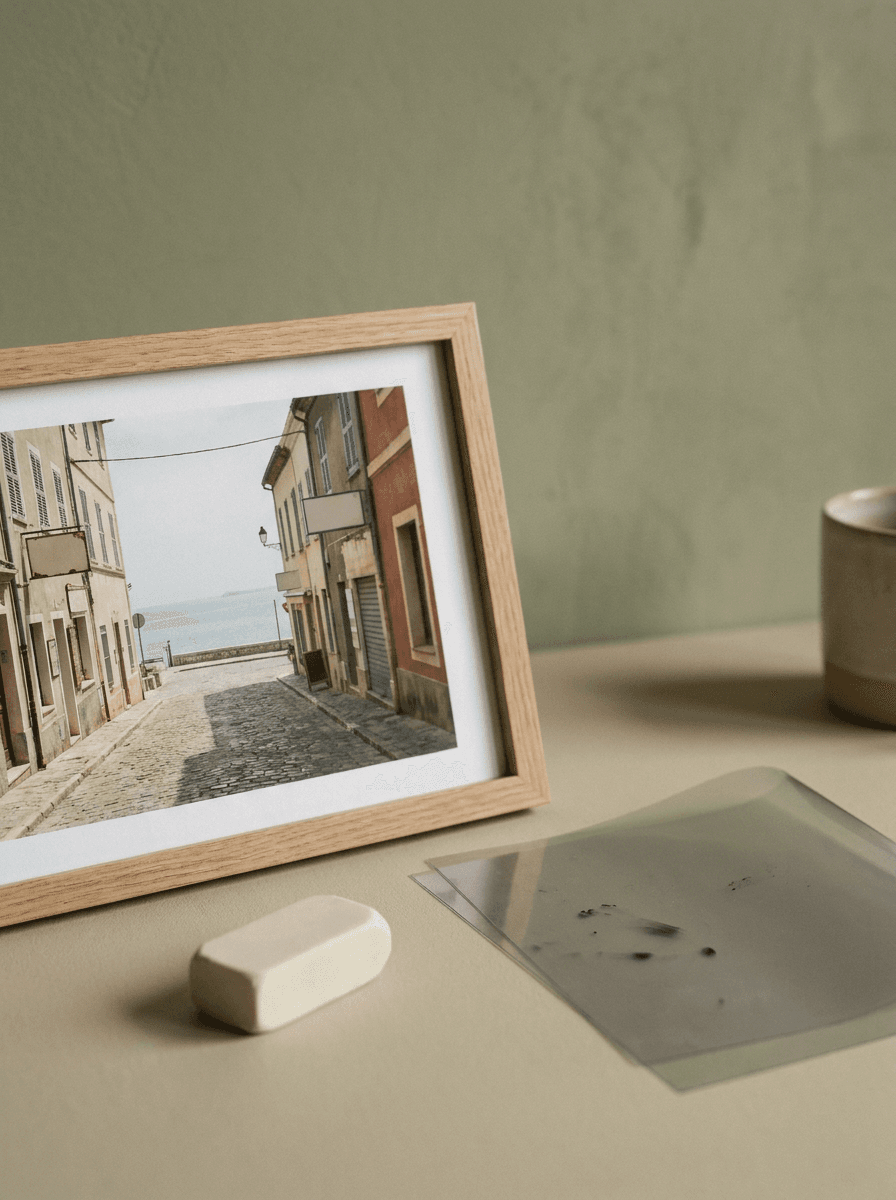


See what each one makes, then open it in Made.